December Project Roundup
Why yes, I am writing about my December projects in September 😂 Sometimes life gets busy and I have to pause my sewing projects, but December was actually rather productive!
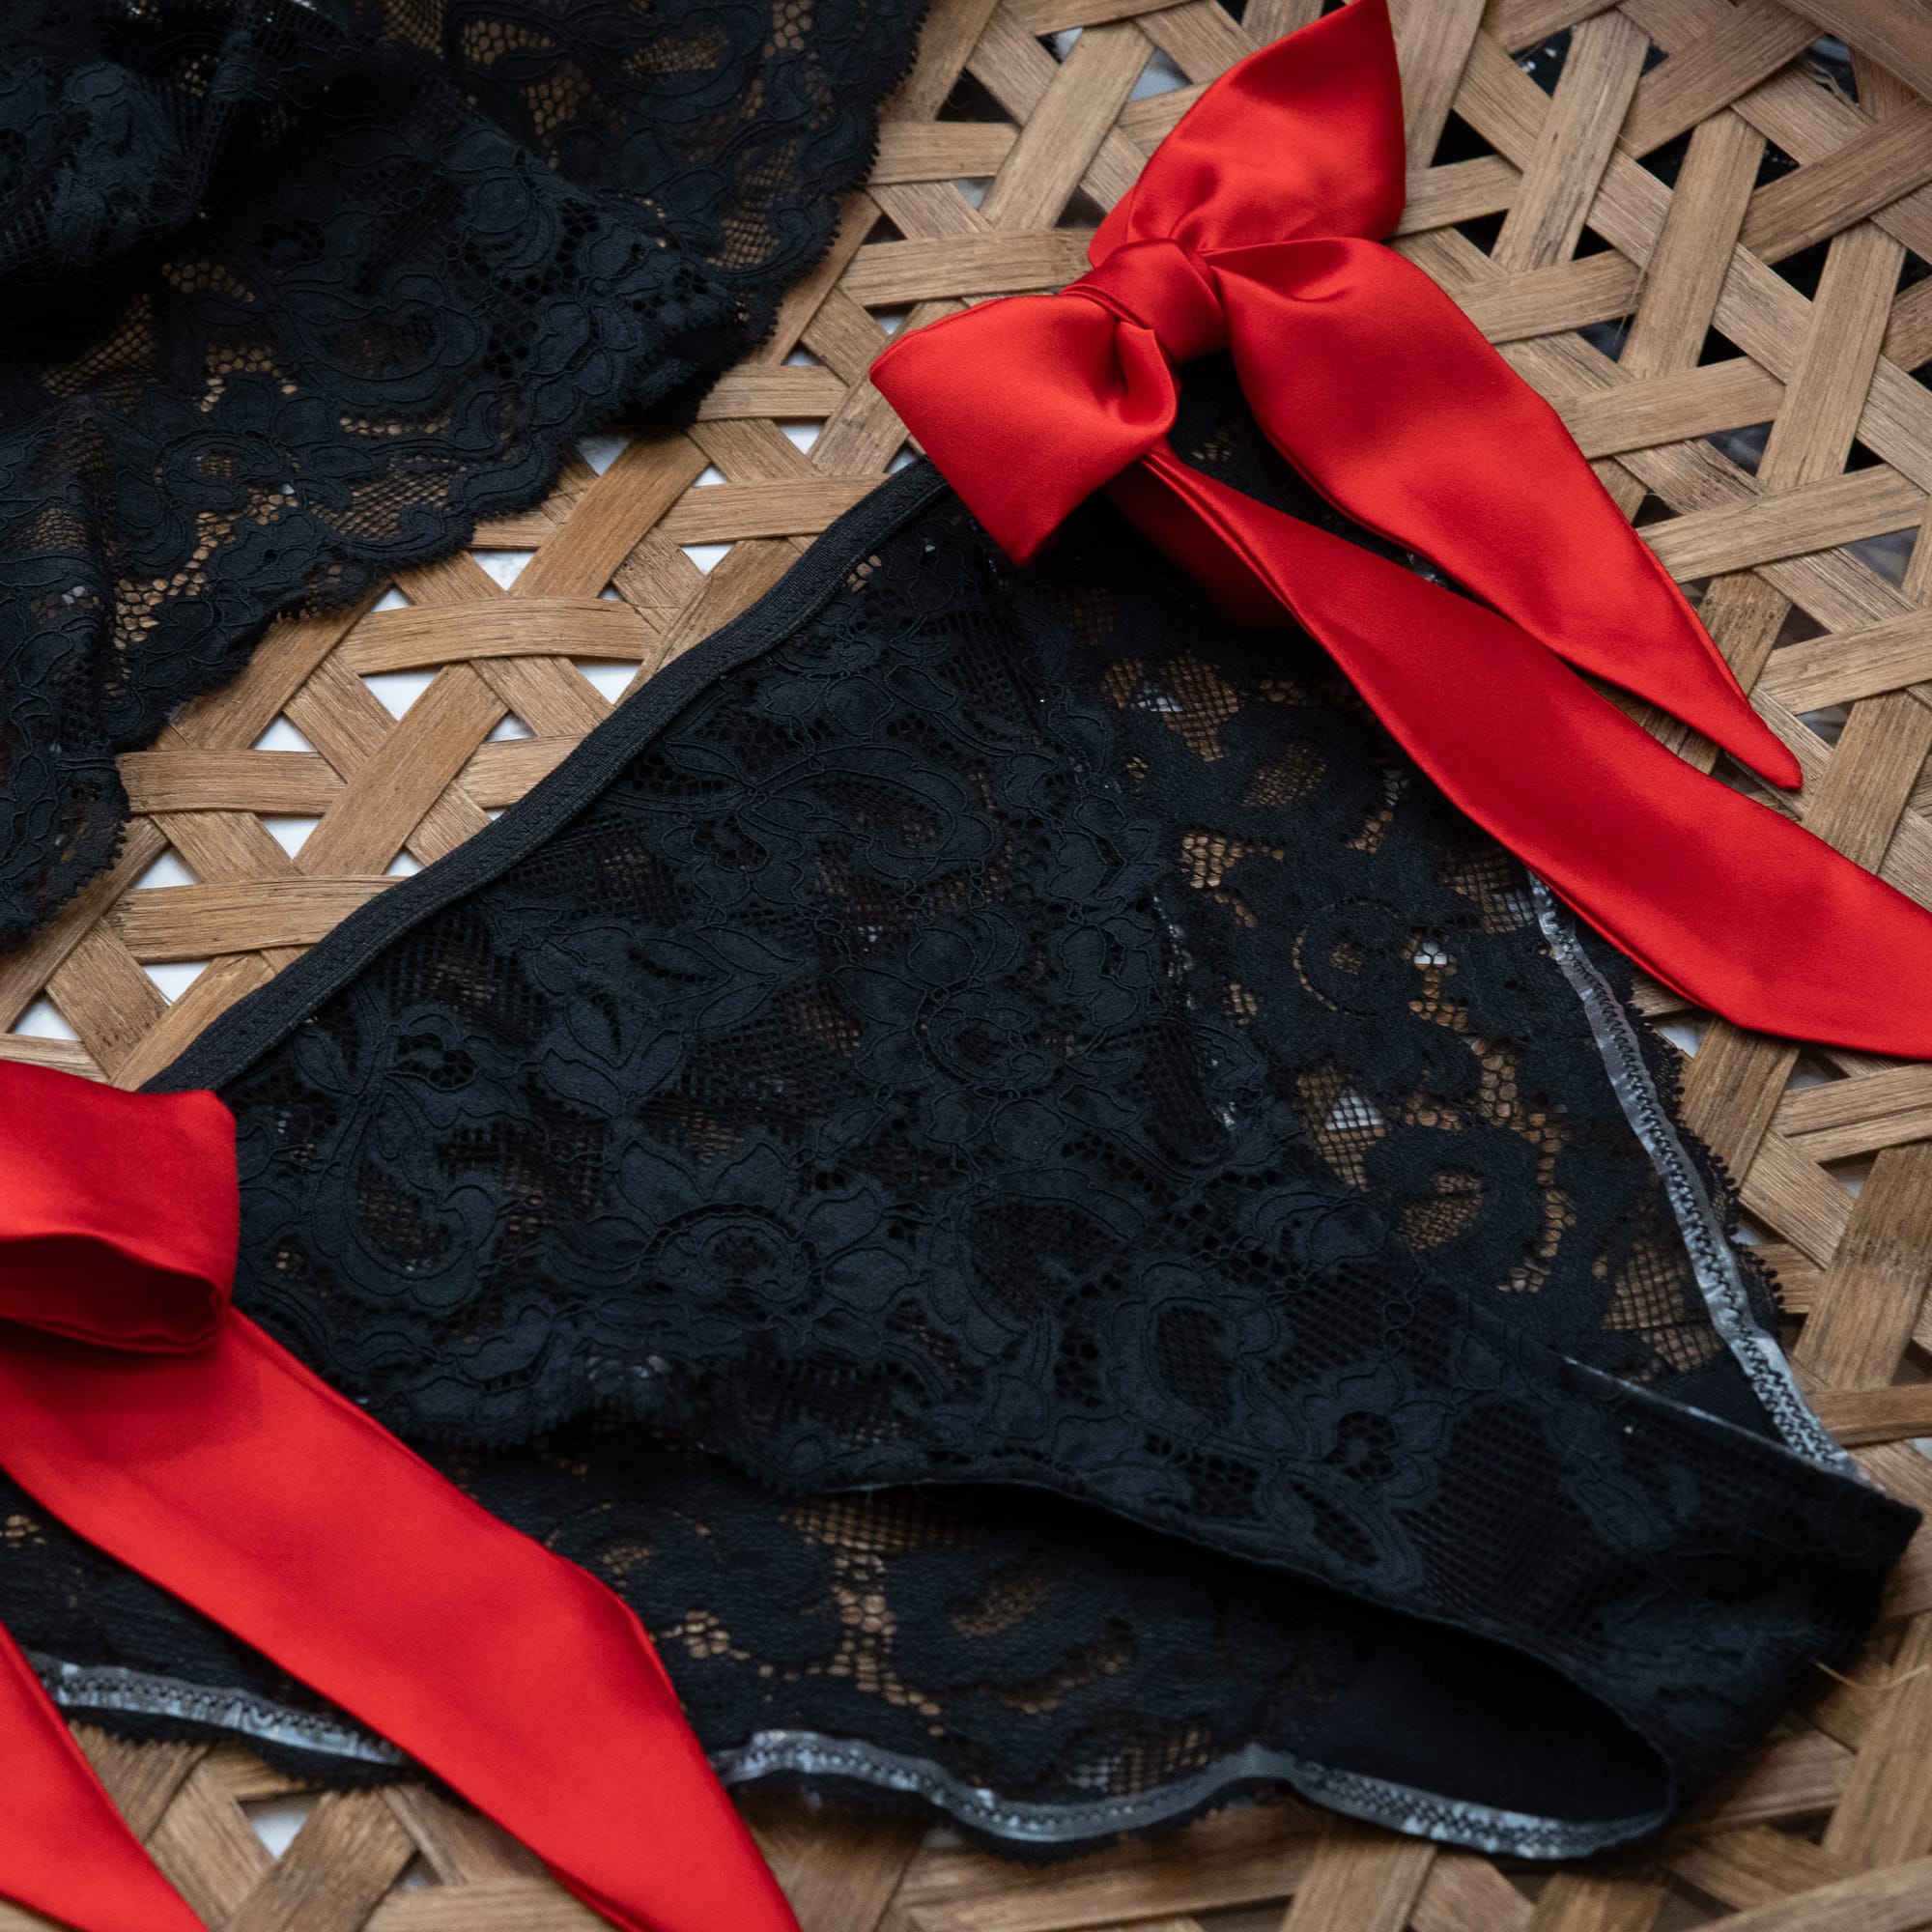
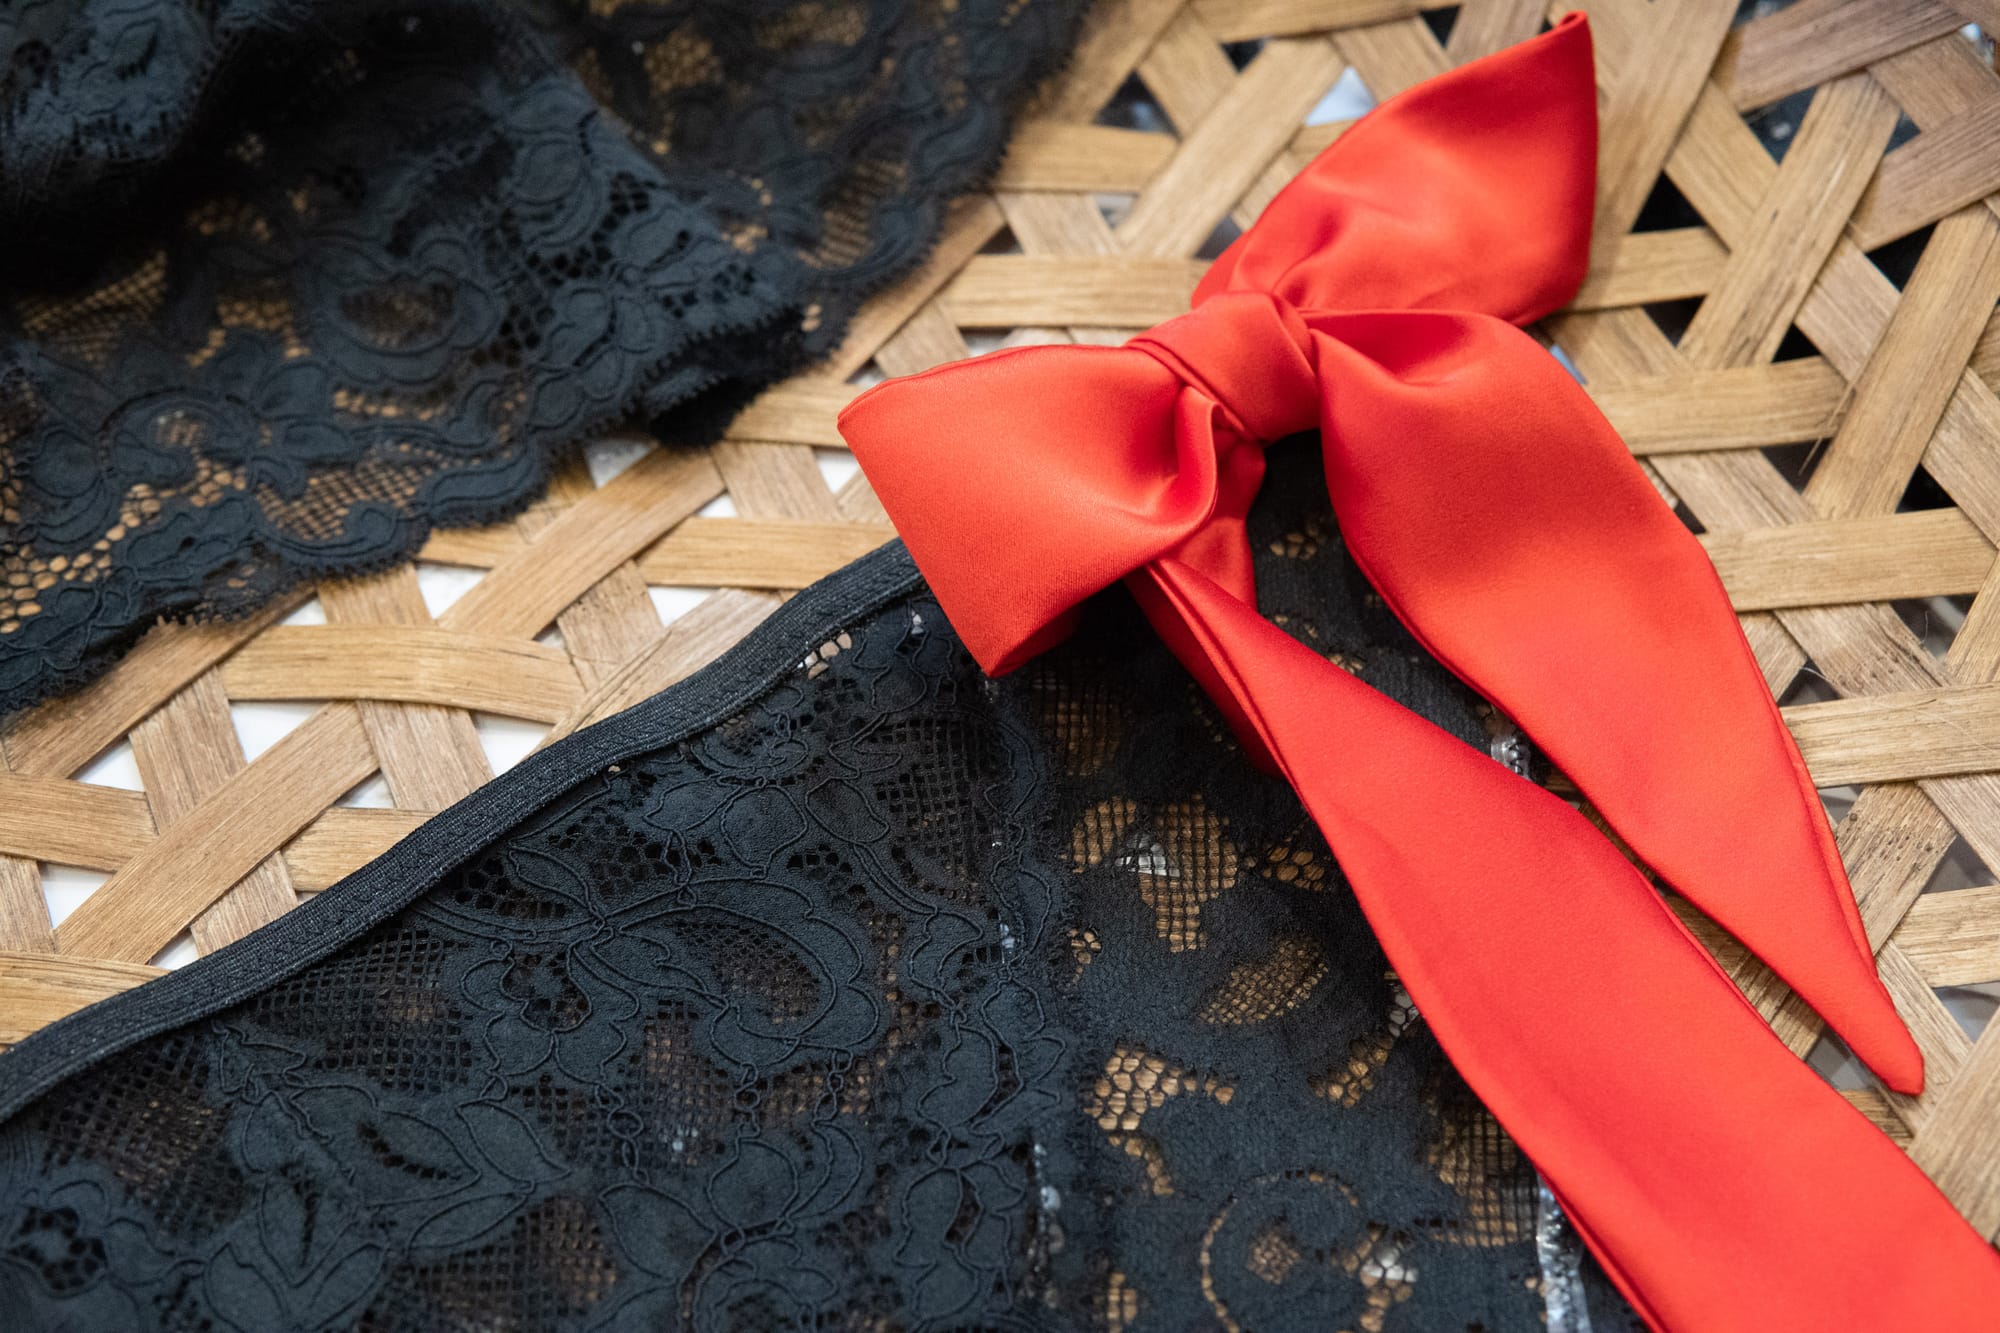
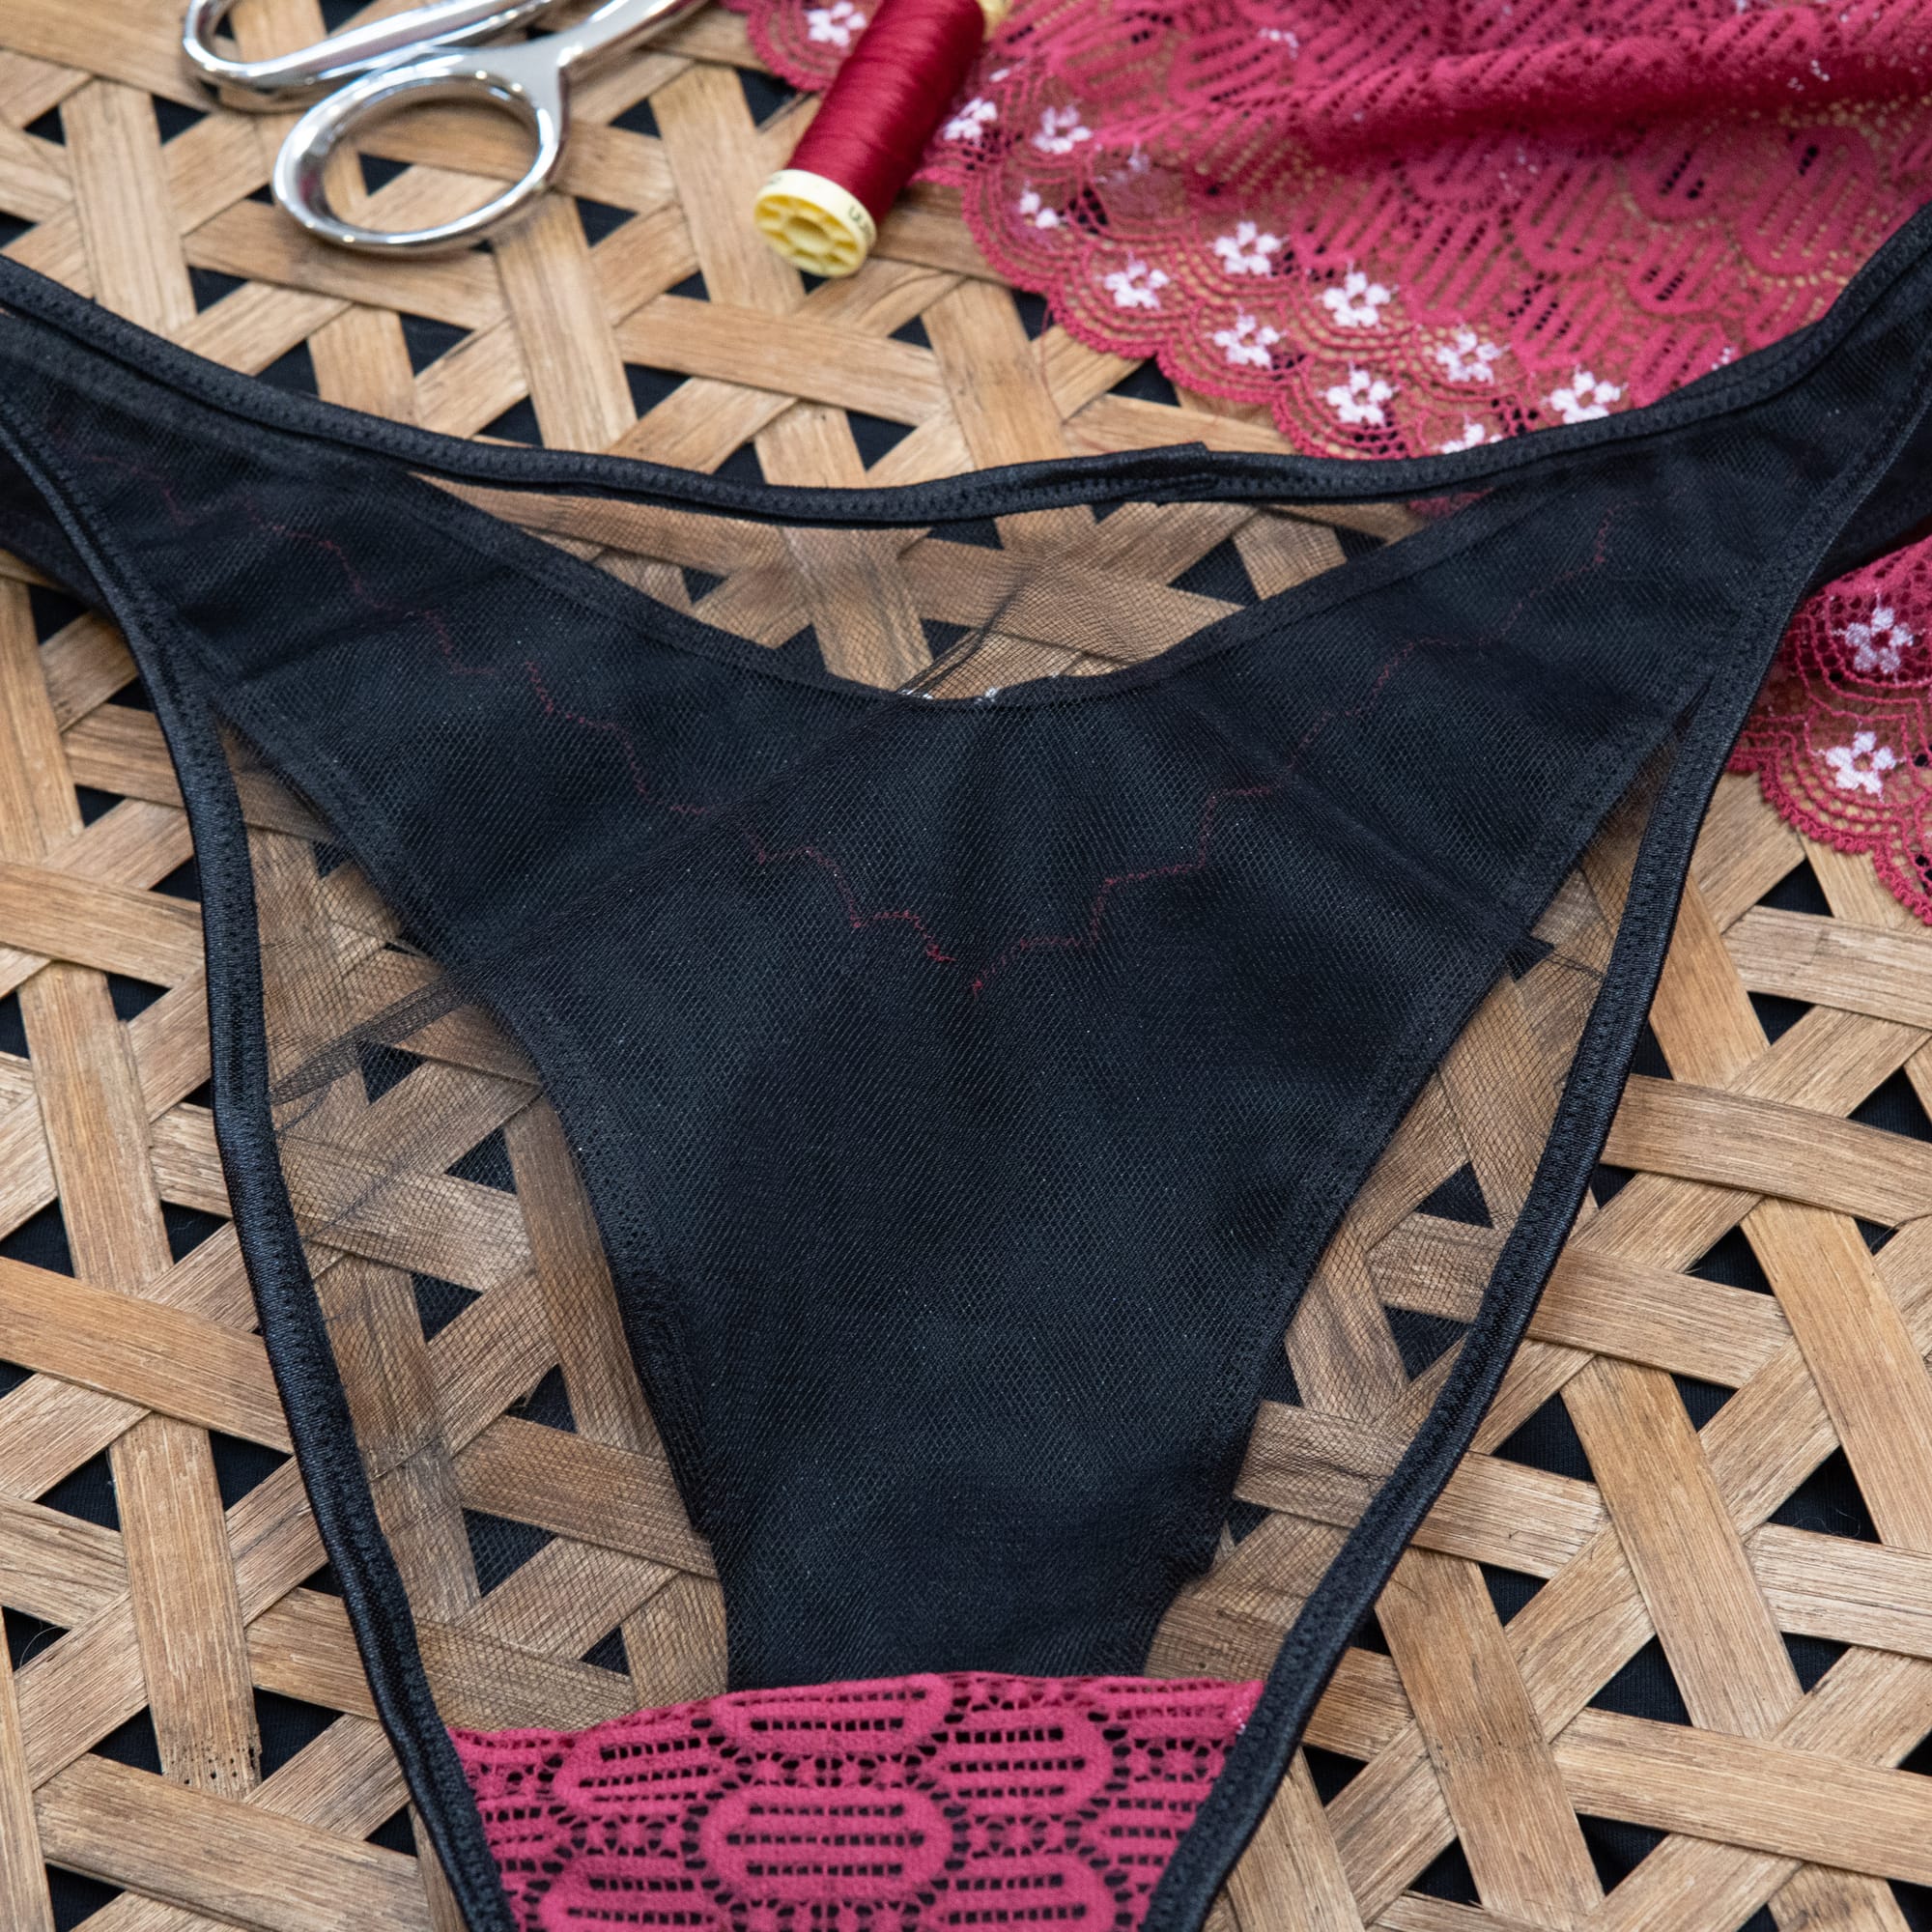
Marie Panties
Content Sewing
I really wanted to do some seasonal sewing this year and the Marie Panties by Evie la Luve were a perfect choice for its creative use of bow ties. If you're not feeling bow ties, the pattern also has an option for adjustable elastic instead. The pattern is very simple, but still has a lot of directions on how to line up and cut the lace out, which is perfect for beginners!
However, I am such a stickler for fit that I ended up making quite a few alterations to the pattern. The first alteration is one I always do: use the burrito method for encasing the gusset seams. This is just an adjustment to the pattern steps as the pattern itself doesn't need to be altered.
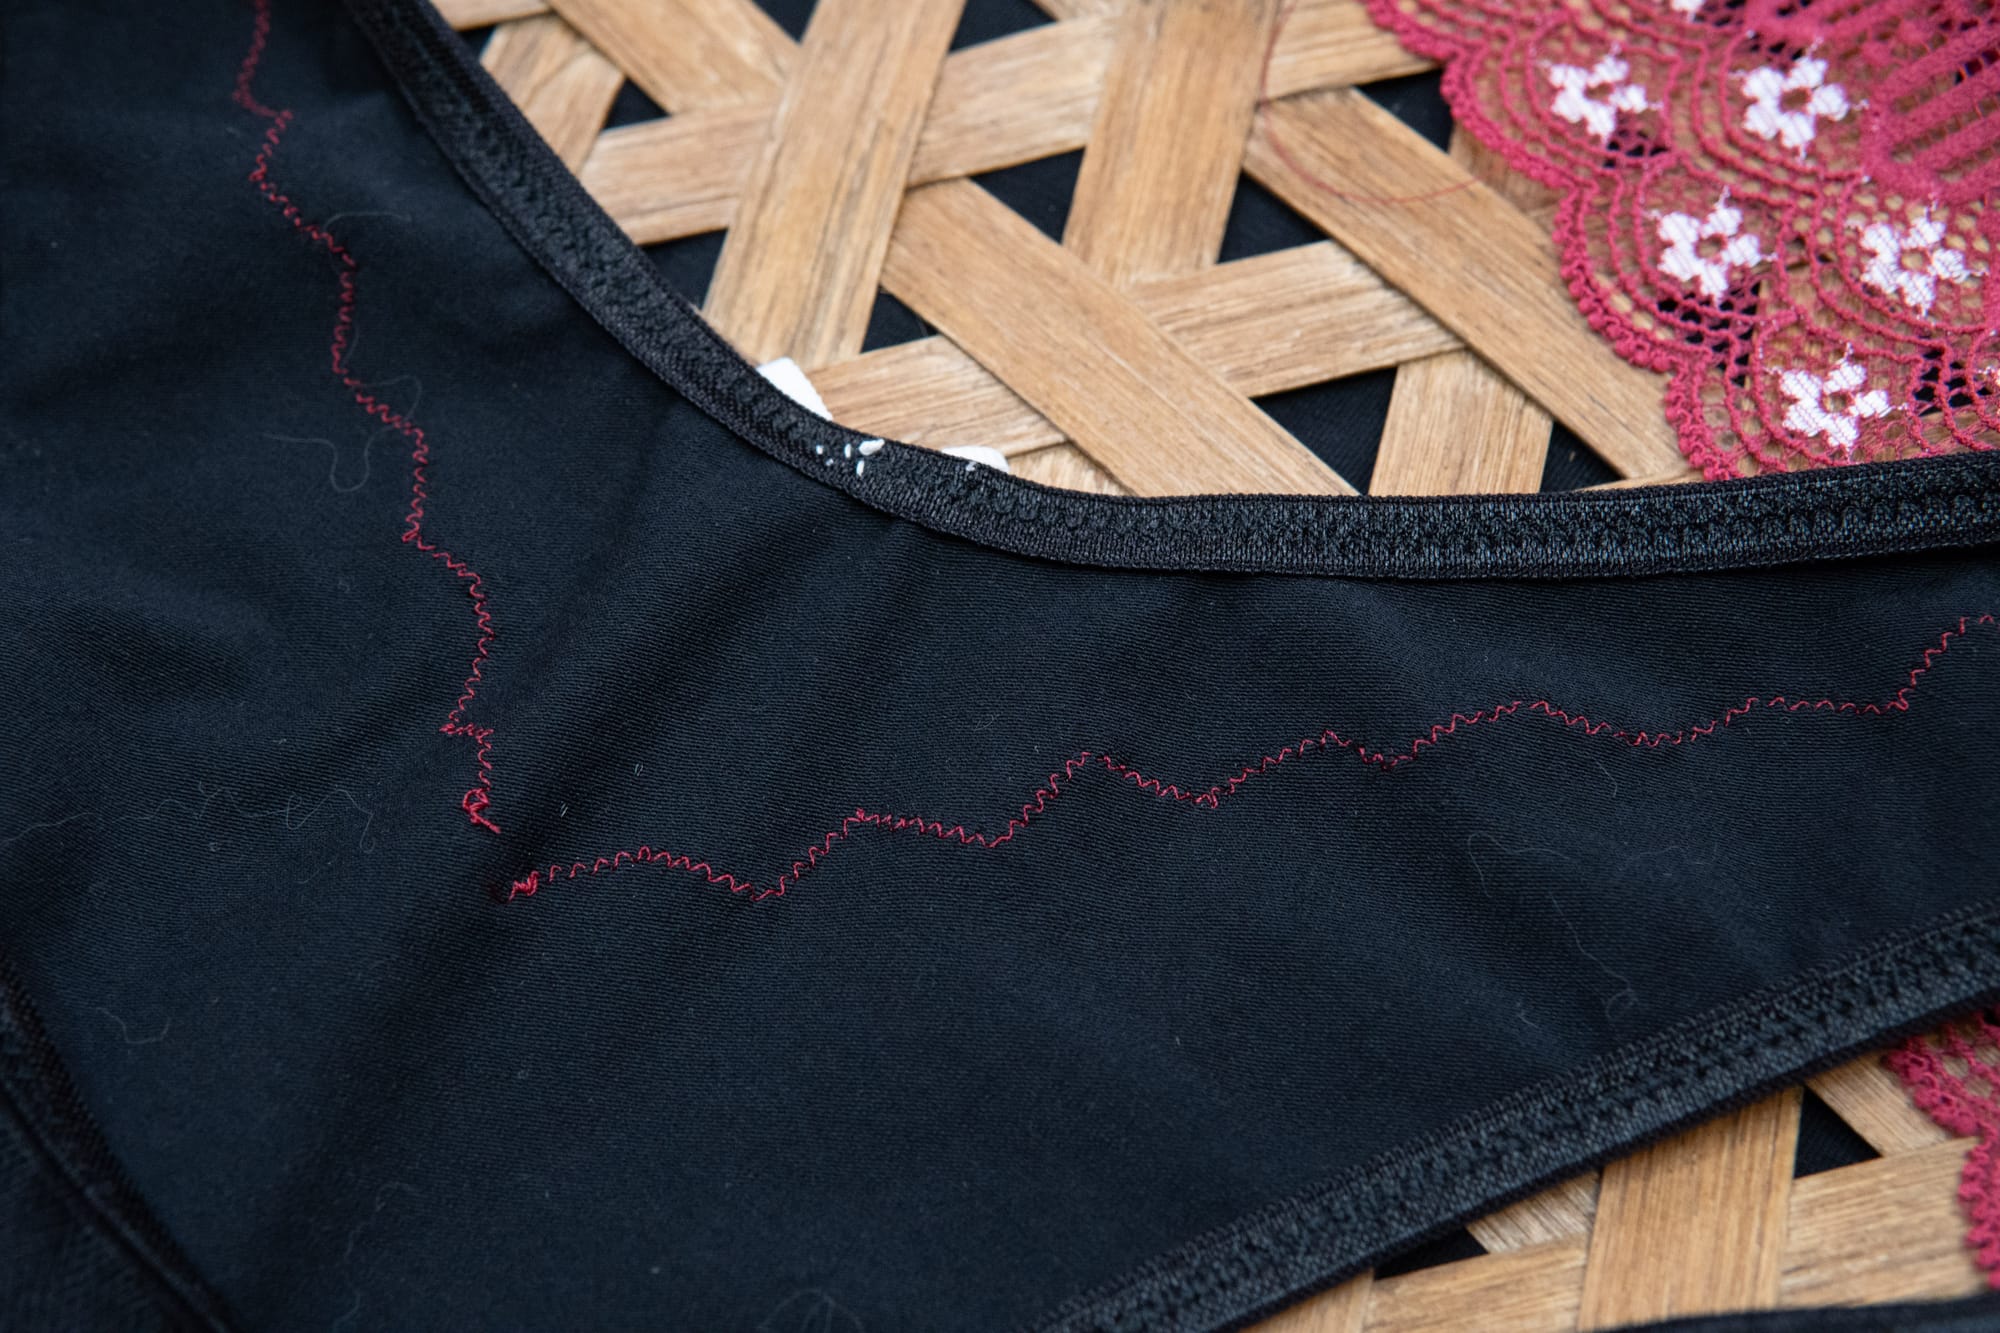
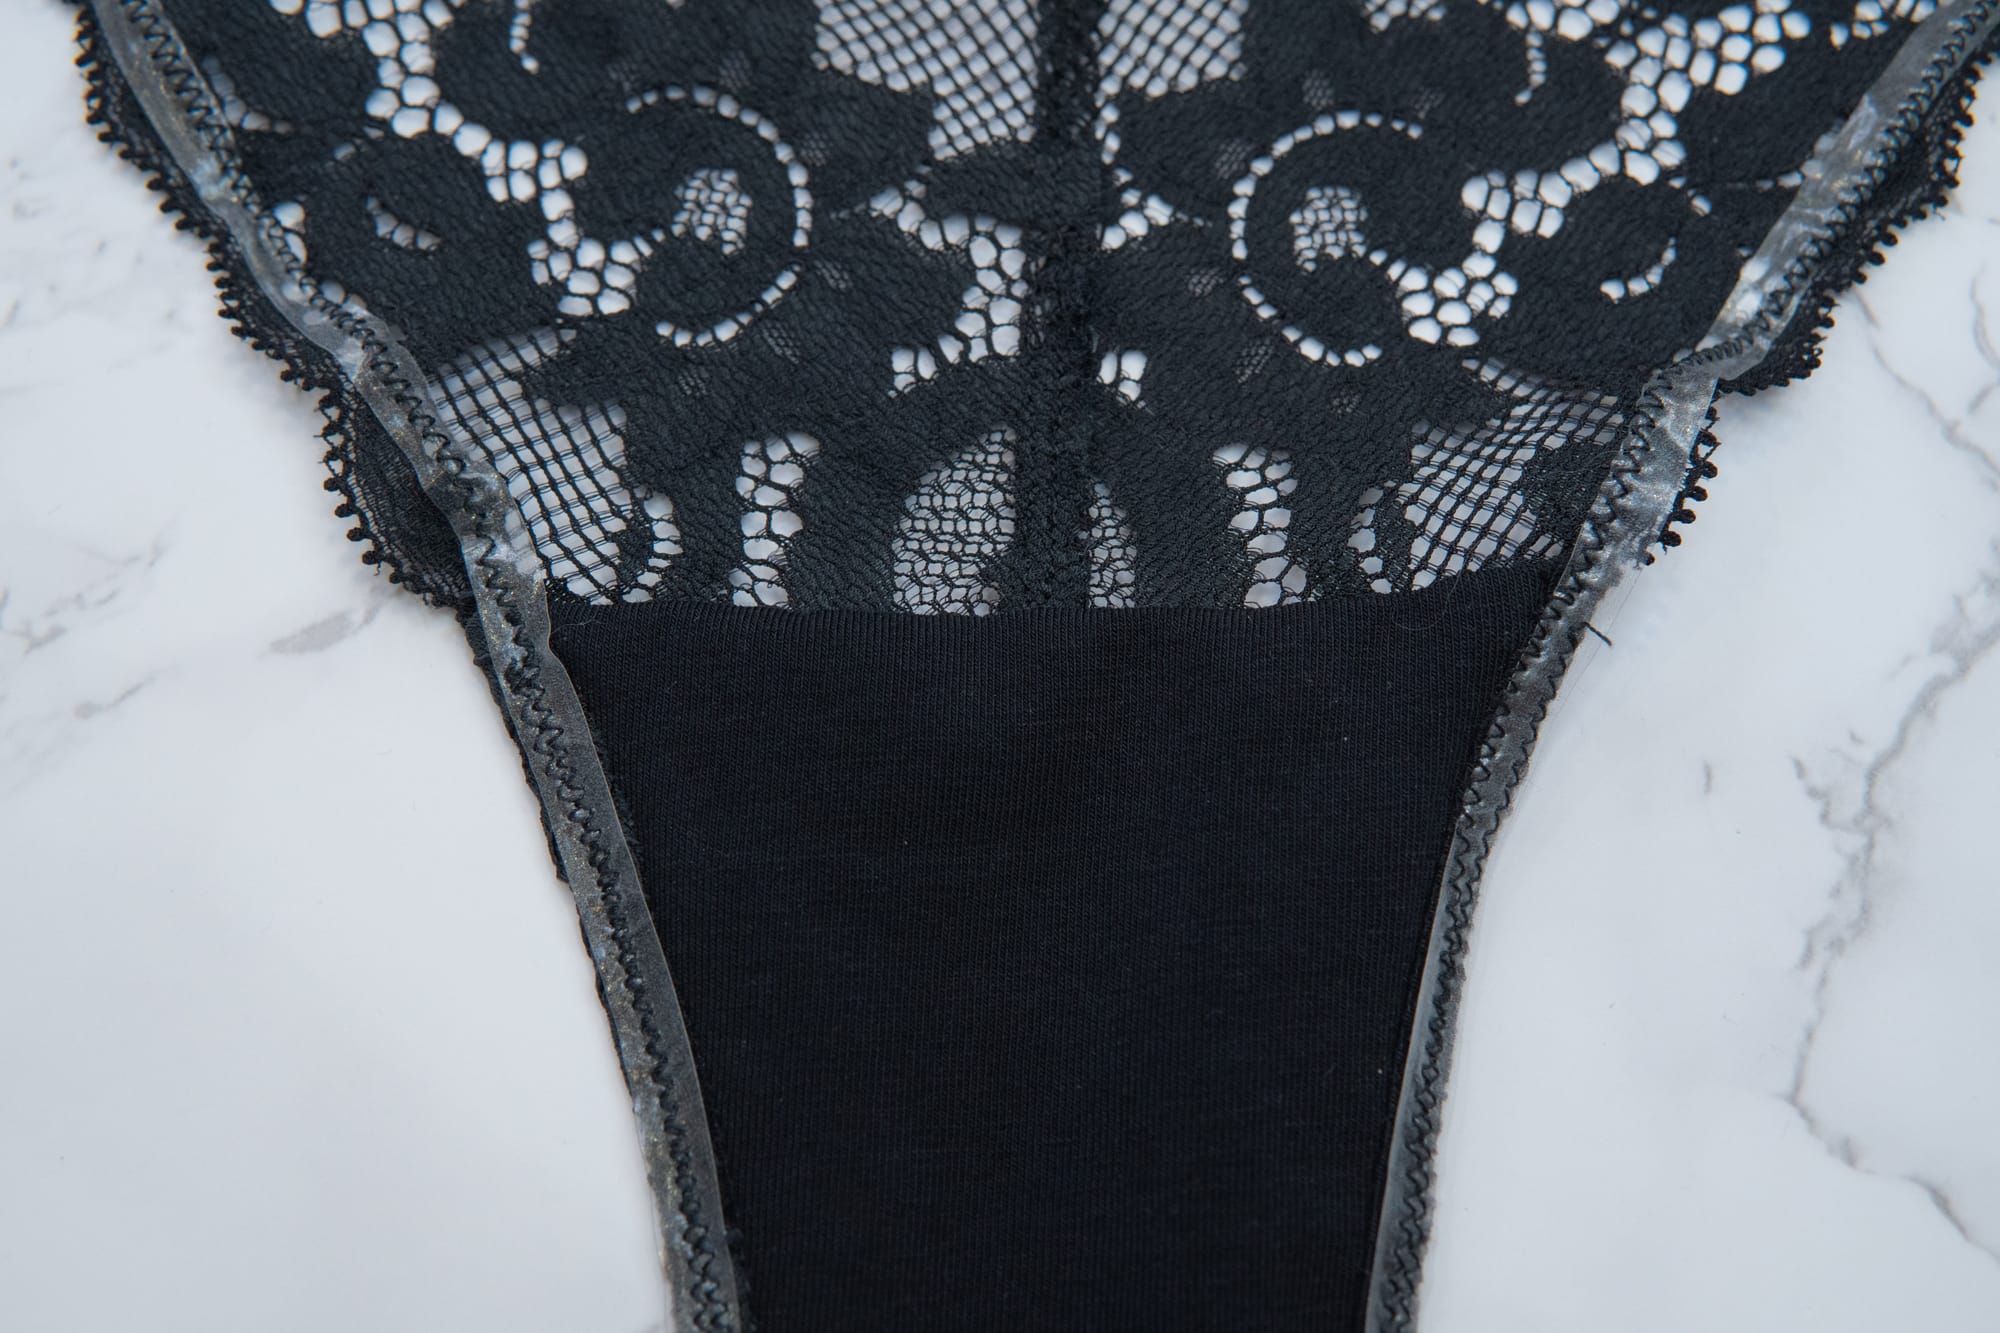
The second alteration I made was adding elastic to the lace and gusset edges. I have found that when the edges of lace are not supported by elastic, they tend to stretch out quickly, so the remedy is adding elastic when possible. Because I wanted to keep the lace edges visible and not hidden by elastic, I used clear elastic that was first sewn to the right side of the gusset using a zigzag stitch. Then, I folded the elastic on the gusset to the wrong side of the underwear and sewed a second pass of zigzag stitches along the gusset starting in the center and sewing to the front. I repeated this by sewing from the center towards the back. This method allows the gusset seams to be enclosed by the elastic, but not the lace edges. In order for this to work, 1/4" seam allowance needs to be added to the gusset piece only before starting.
The last alteration I made was removing a curved piece of fabric along the top of the front and back pieces. Even though the underwear fit well and I added the elastic, it was still a little loose along the edges. This is a problem I had when I drafted my own pattern of a similar style. I've decided the issue is a lack of side seam to pull the underwear tightly around my waist and the solution is to add a dart so the leg elastic is being pulled more. Adding the curve along the top edges keeps the height of the underwear the same, but creates more snugness along the leg openings.
Overall rating: 4/5
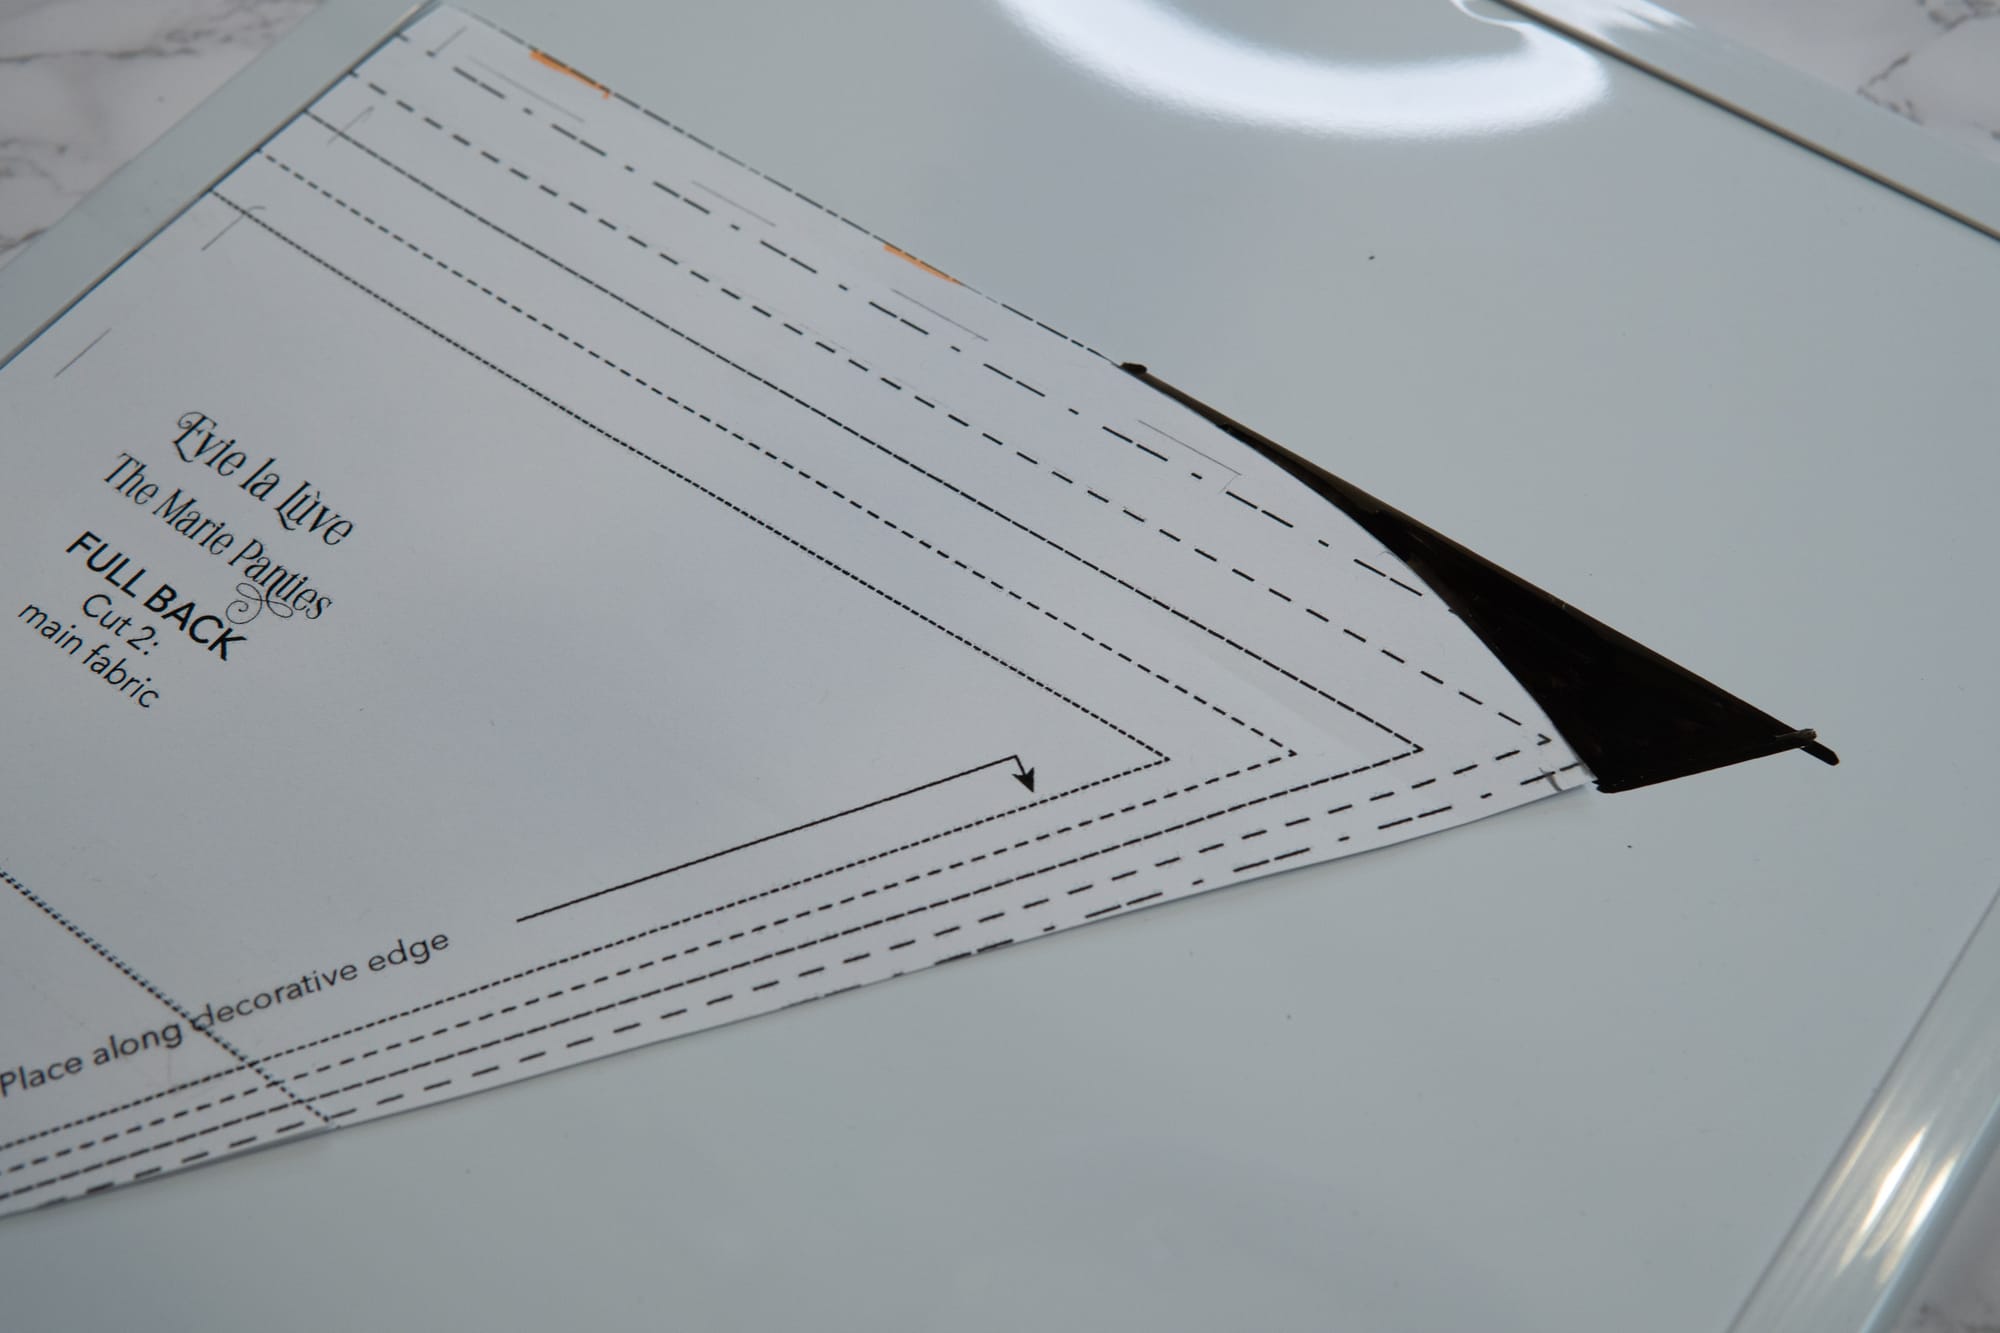

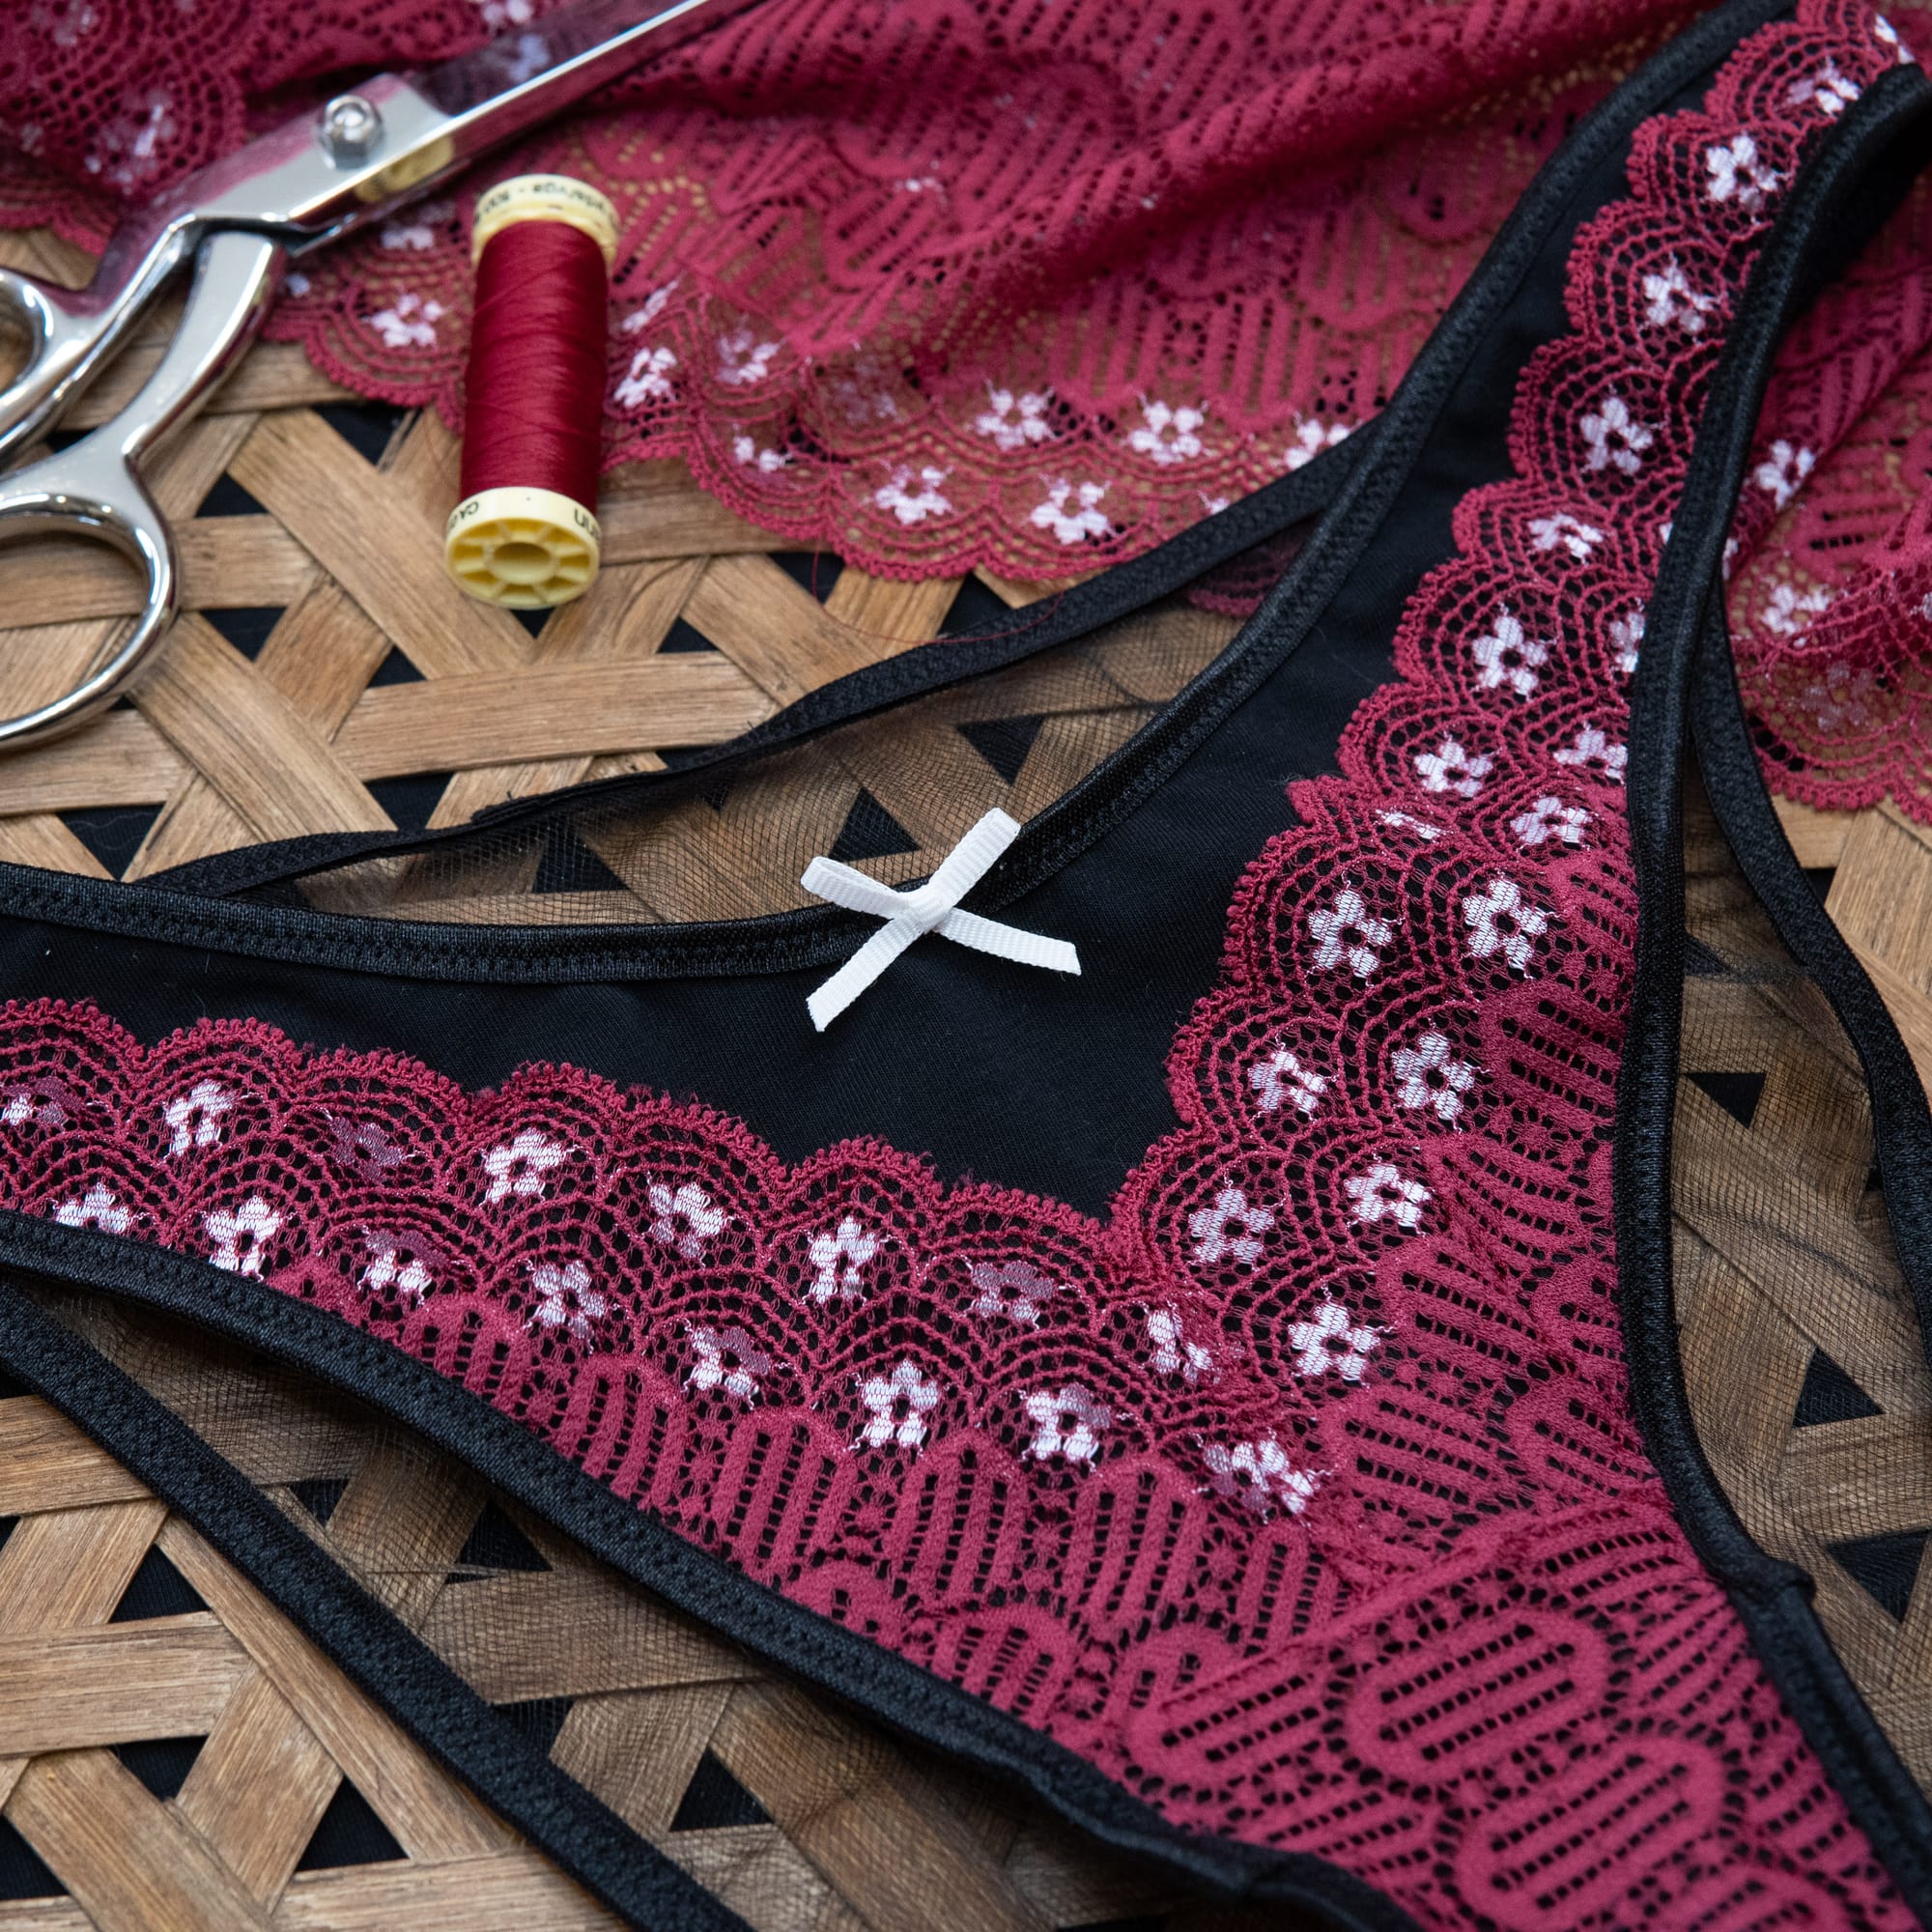
Left: the black area was removed from the original pattern piece Right: the removed curve is apparent in the finished piece
Friday French Cut Panties
Content Sewing
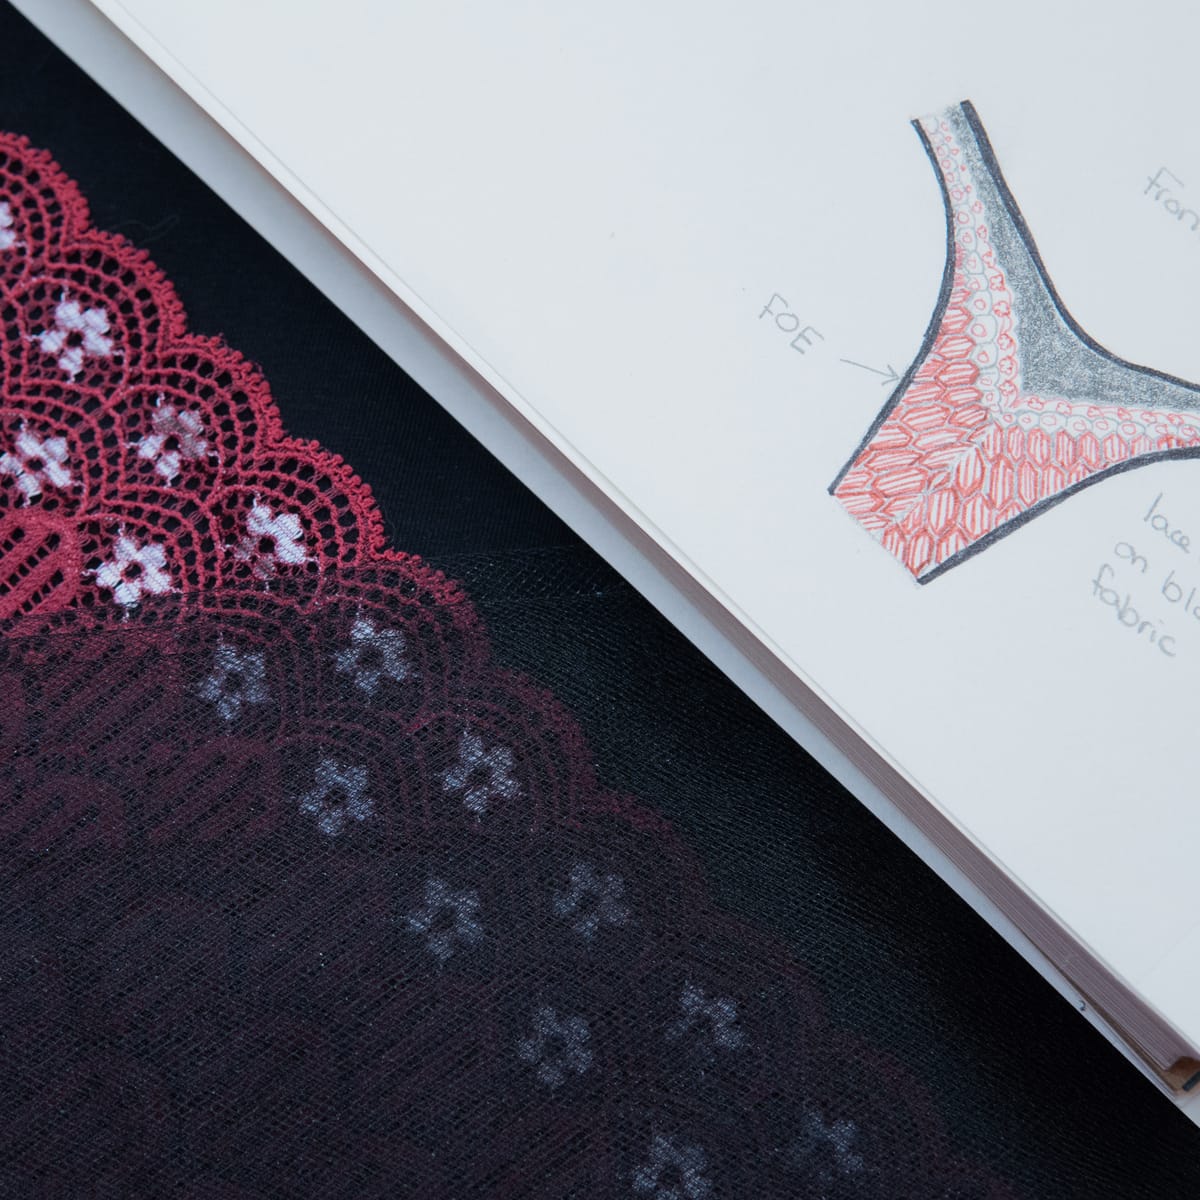
Next, I wanted to make a pair of underwear that was more practical for everyday wear, but was still festive. All of the patterns I’ve sewn up until this point have been a low rise style, so I wanted to try the high cut style that the Friday French Cut Panties offered. I started with size M based on measurements and sewed style D with lace overlay alterations from Emerald Erin's blog.
This pattern needed a lot of work to fit me properly, even though I used the recommended size based on measurements. Because I have an underwear block made, I could easily compare the two and see there were some big differences. Usually the pattern is close to my block and I just need to change the gusset length (due to my round torso) and add width to the gusset.
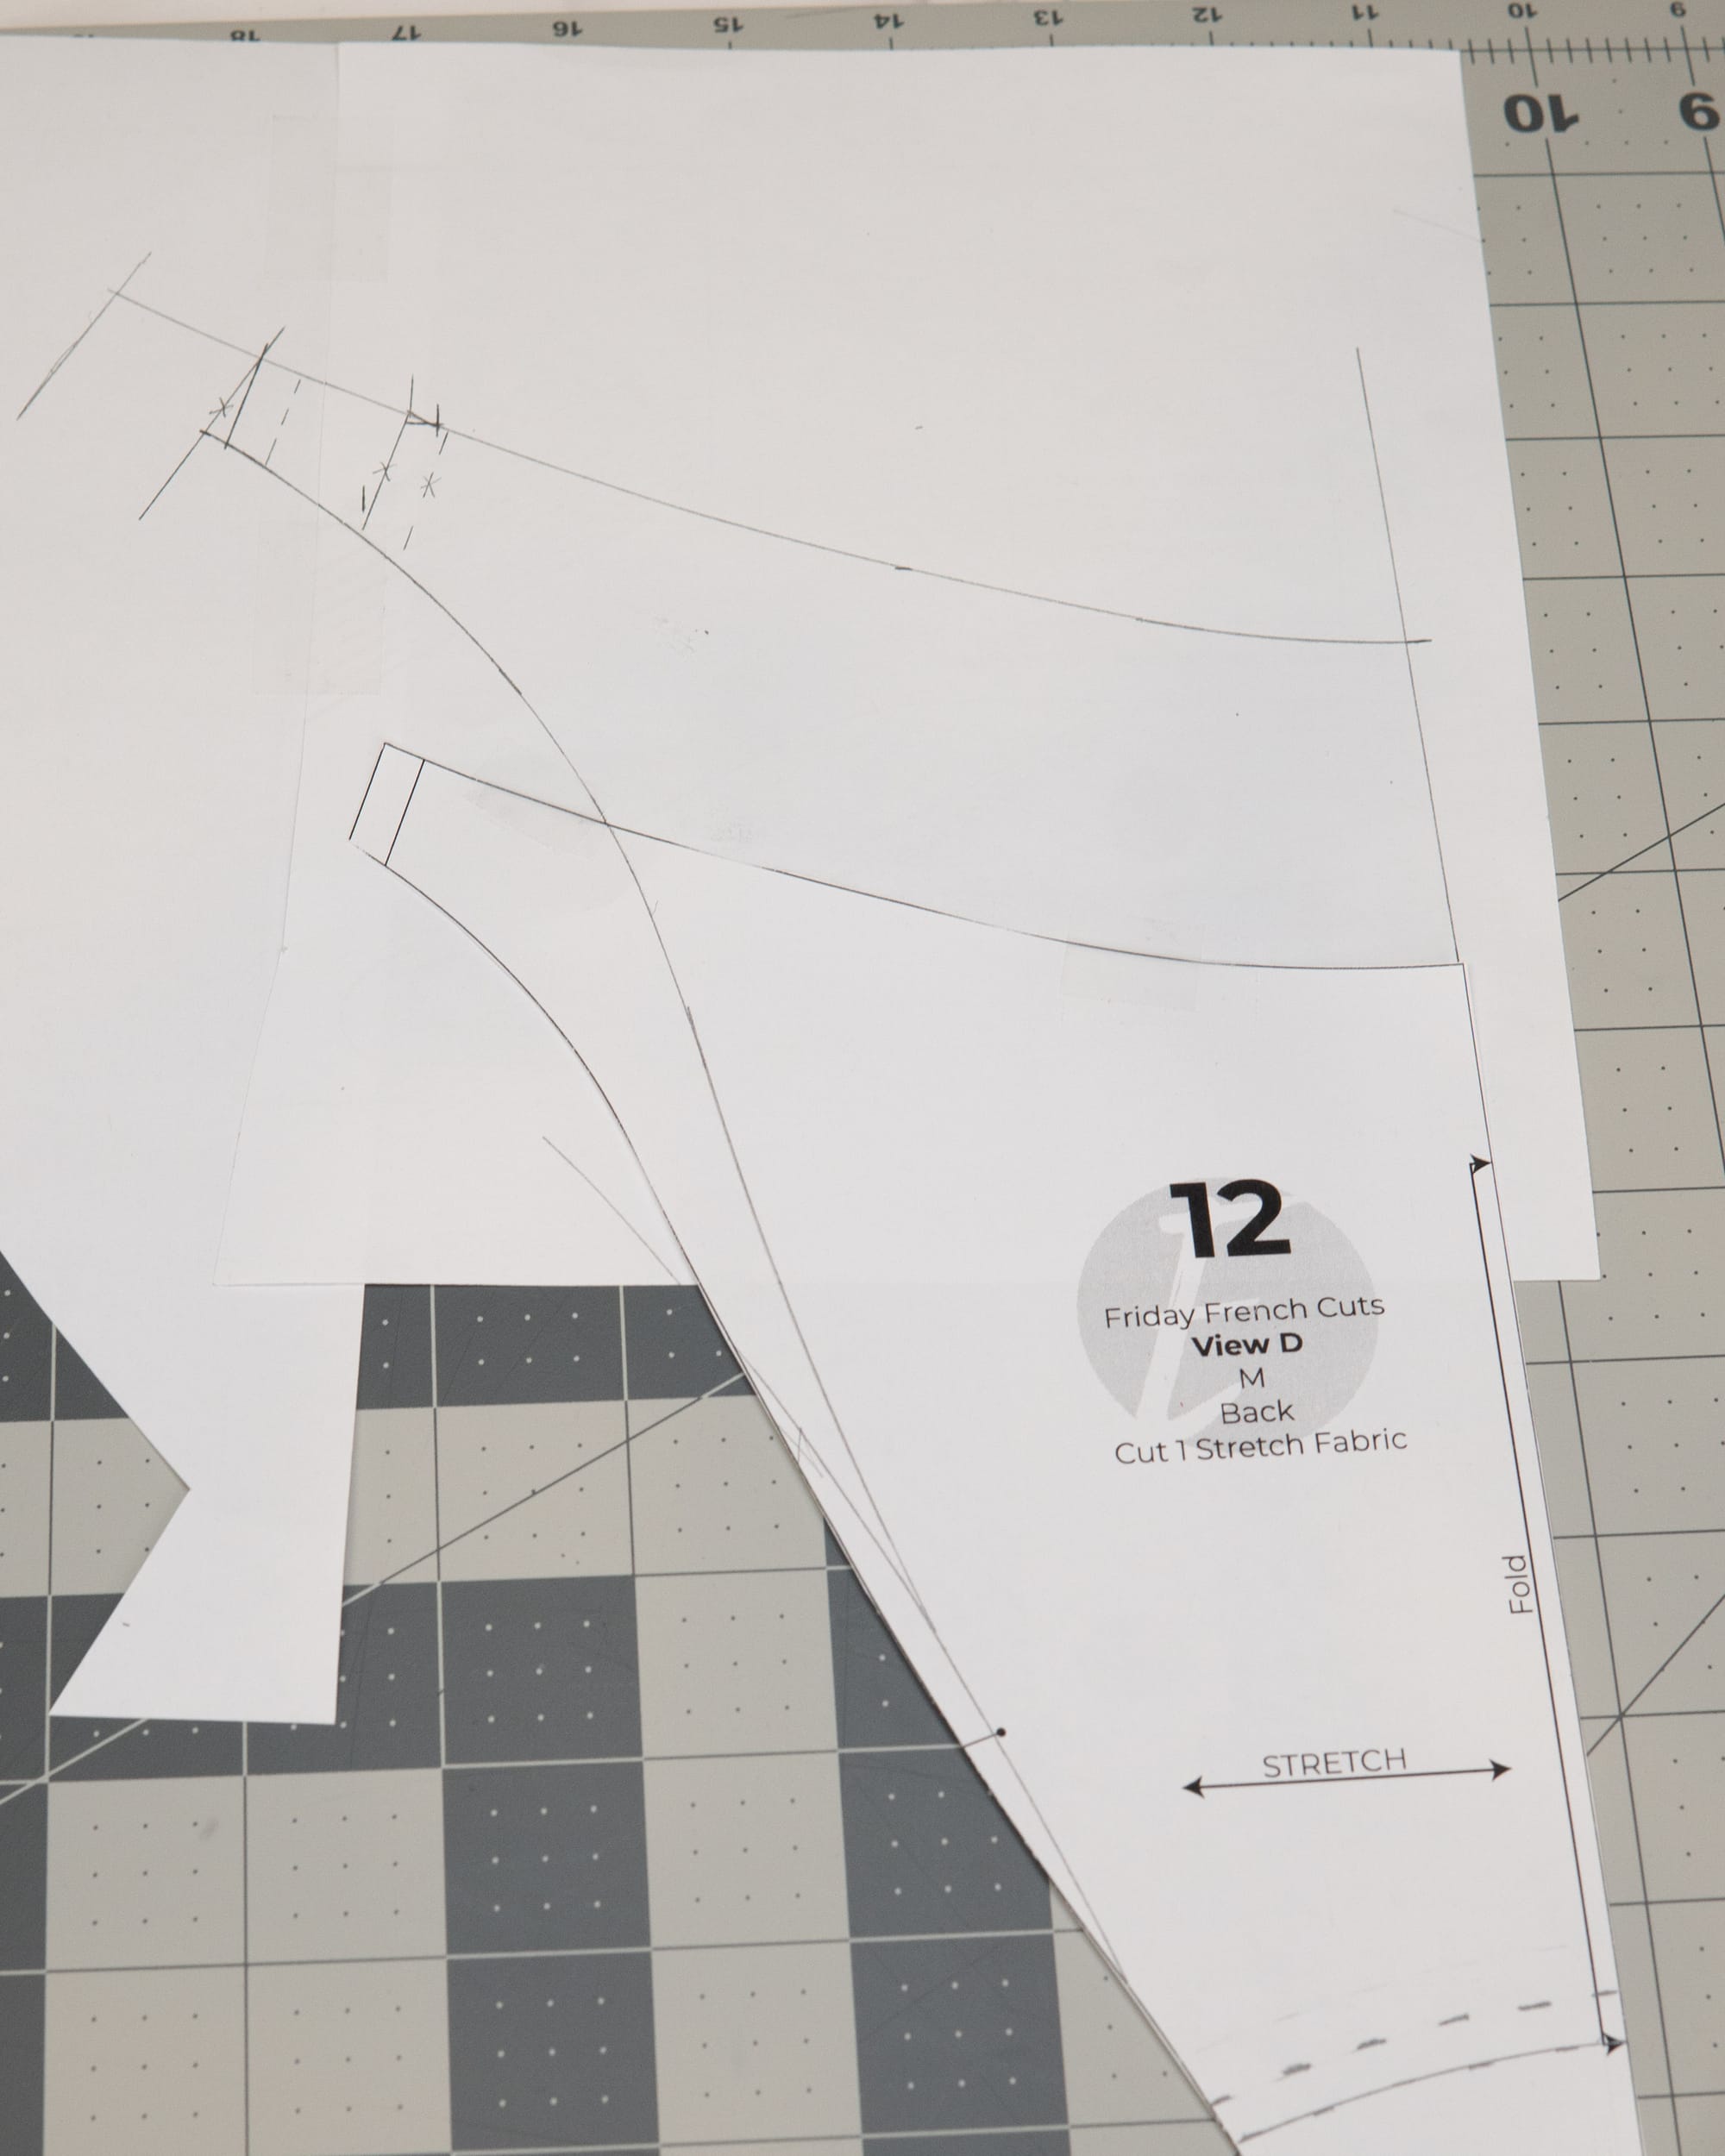
For the Friday French Cut panties, I needed to add 2.5" to the height of the back piece to cover my butt as well as 1" to each side seam (amounting to an extra 4" total in circumference). Although none of these changes were difficult, if I were a new sewist and encountered such large differences, I would probably be discouraged.
I assume the issue is due to the fact that the pattern designer has a fairly small frame, so her initial drafts are to accommodate her (which makes sense). I have a pear shaped body, so it doesn’t match the body shape she drafted to. I didn’t need to make any alterations to the front of the pattern, only the back, so I think my theory is at least somewhat correct. 🤣
I bring this up because I love indie pattern makers, but it is helpful to see what their body shape is like to get an idea of how their patterns will fit your body. When I start publishing patterns, there will probably be too much space in the back area for some people and not enough for others because I am doing my initial draft to fit me then scaling the pattern up and down.
Once my sample underwear fit, I just needed to make style adjustments. First, I loved Emerald Erin's lace alteration from her blog, so I made that additional pattern piece. Then I decided I wanted the front to be a little more low cut, so I removed 1" from the center front piece and graded it to the original pattern edge. Lastly, my sample was made using just jersey fabric, which has a different stretch factor than jersey + lace (10% difference) and the mesh (15% difference) I planned for the back. I did some math and sized the pattern up to account for these differences and in the end it turned out slightly too big, but I'd rather that than too small!
Overall rating: 3.5/5